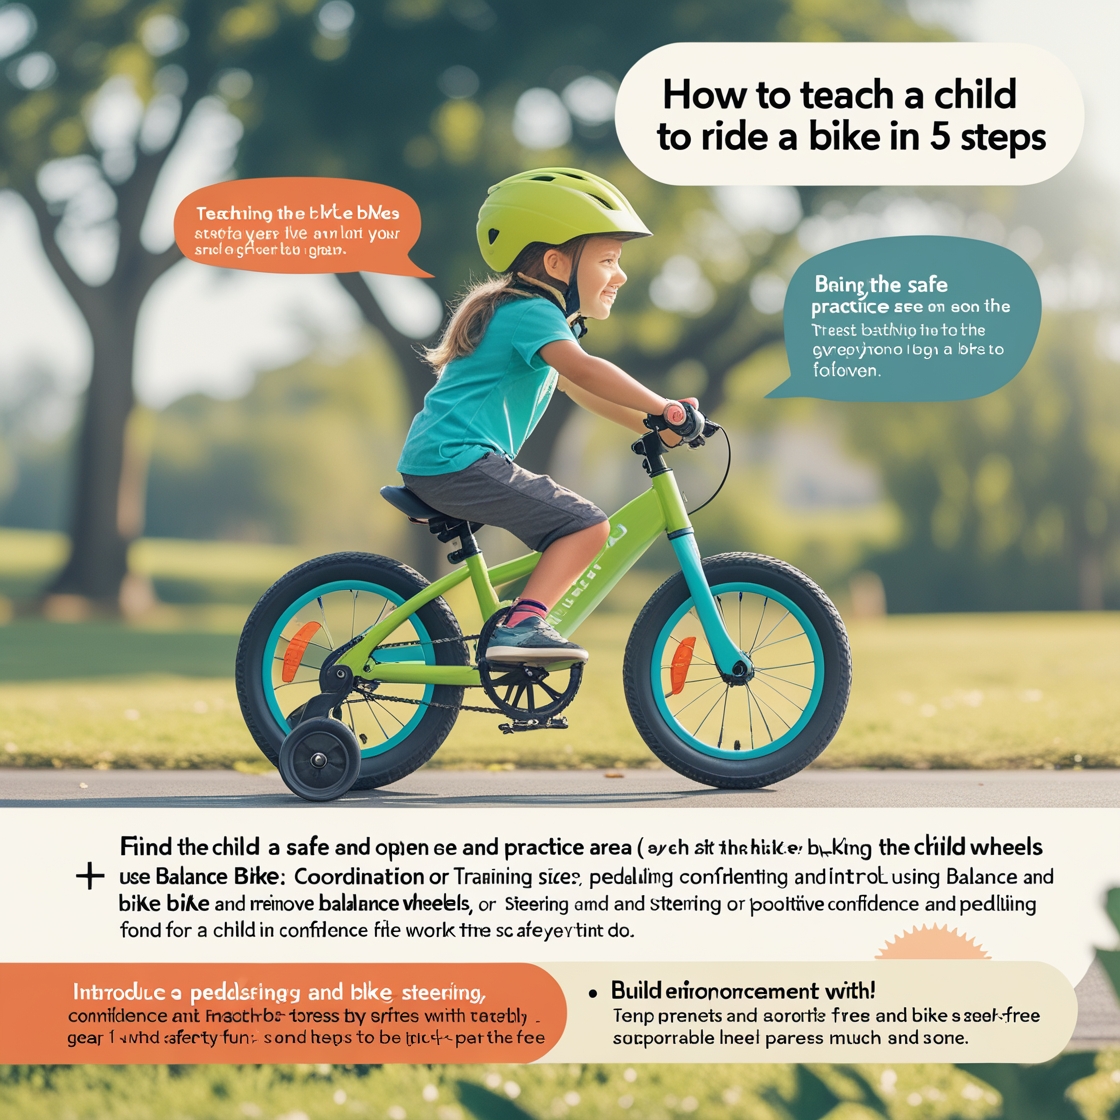
Do you remember the exhilarating feeling of freedom when you first rode a bike on your own? I certainly do, and now, as a parent, I’m eager to share that joy with my child. But let’s face it – teaching a kid to ride a bike can be daunting. The wobbly starts, the inevitable falls, and the frustration (for both parent and child) can make it feel like an uphill battle. 😓
But what if I told you there’s a way to make this milestone moment smoother and more enjoyable for everyone involved? After countless scraped knees and triumphant victories, I’ve discovered a foolproof method to teach a child to ride a bike in just 5 simple steps. This approach not only builds confidence but also creates lasting memories of accomplishment and bonding. 🚴♂️💖
In this blog post, I’ll guide you through each step of the process, from preparing for success to supporting that magical first solo ride. We’ll explore how to master balance, introduce pedaling, and provide the right kind of support along the way. So, grab your helmet and let’s get ready to roll!
Prepare for Success

Choose the right bike size
I always start by selecting the perfect bike size for my child. When they can sit on the seat with their feet flat on the ground, I know it’s just right. This ensures comfort and control, boosting their confidence from the start.
Ensure safety gear is ready
| Safety Gear | Importance |
|---|---|
| Helmet | Essential |
| Knee Pads | Recommended |
| Elbow Pads | Optional |
I never compromise on safety. A well-fitting helmet is non-negotiable, while knee and elbow pads offer extra protection during inevitable tumbles.
Find a suitable learning area
- Flat, paved surfaces
- Low-traffic areas
- Grassy patches nearby
I scout for ideal locations that offer a safe environment for my child to practice. Parks or quiet cul-de-sacs are perfect spots to begin their biking journey.
Master Balance First

A. Remove pedals for balance practice
I always start by taking off the pedals. It’s a game-changer! This simple step lets kids focus on balancing without worrying about pedaling. Here’s why it works:
- Reduces complexity
- Builds confidence
- Enhances balance skills
| With Pedals | Without Pedals |
|---|---|
| Distracting | Focused |
| Intimidating | Approachable |
| Complex | Simple |
B. Teach proper sitting position
Introduce Pedaling

Introduce Pedaling
A. Reattach the pedals
I always start by securely reattaching the pedals to the bike. This step is crucial for safety and proper function. Here’s a quick guide:
| Step | Action |
|---|---|
| 1 | Identify left and right pedals |
| 2 | Thread right pedal clockwise |
| 3 | Thread left pedal counterclockwise |
| 4 | Tighten with a wrench |
B. Demonstrate correct foot placement
C. Teach pedaling motion while stationary
Support Their First Ride
Support Their First Ride
A. Hold the bike steady for mounting
I always start by holding the bike steady while my child mounts. This builds their confidence and ensures a safe start. Next, I provide gentle pushes to get them moving, running alongside for reassurance. As they gain balance, I gradually reduce my physical support, letting them experience independence.
| Step | Action | Purpose |
|---|---|---|
| 1 | Hold bike | Safety |
| 2 | Push gently | Momentum |
| 3 | Run alongside | Reassurance |
| 4 | Reduce support | Independence |
Teaching a child to ride a bike is an exciting journey that requires patience, encouragement, and a step-by-step approach. By focusing on preparation, mastering balance, introducing pedaling, and supporting their first ride, I’ve outlined a method that can help make this milestone easier and more enjoyable for both parent and child.
Remember, every child learns at their own pace, so it’s important to be patient and celebrate small victories along the way. As you guide your child through this process, you’re not just teaching them a new skill – you’re helping them build confidence, independence, and a love for physical activity. So grab those helmets, find a safe space, and get ready to create lasting memories as your little one discovers the joy of riding a bike!